The first step is to have the shower installed. This shower was installed by a licensed plumber. In the photo below, you see that the shower was installed about 2 feet to the left of the 8-sided window. Normally care would be taken to locate a shower some distance away from any window, however there is a washer and dryer in front of this window, which prevents anyone from being able to look out the window and into the shower.
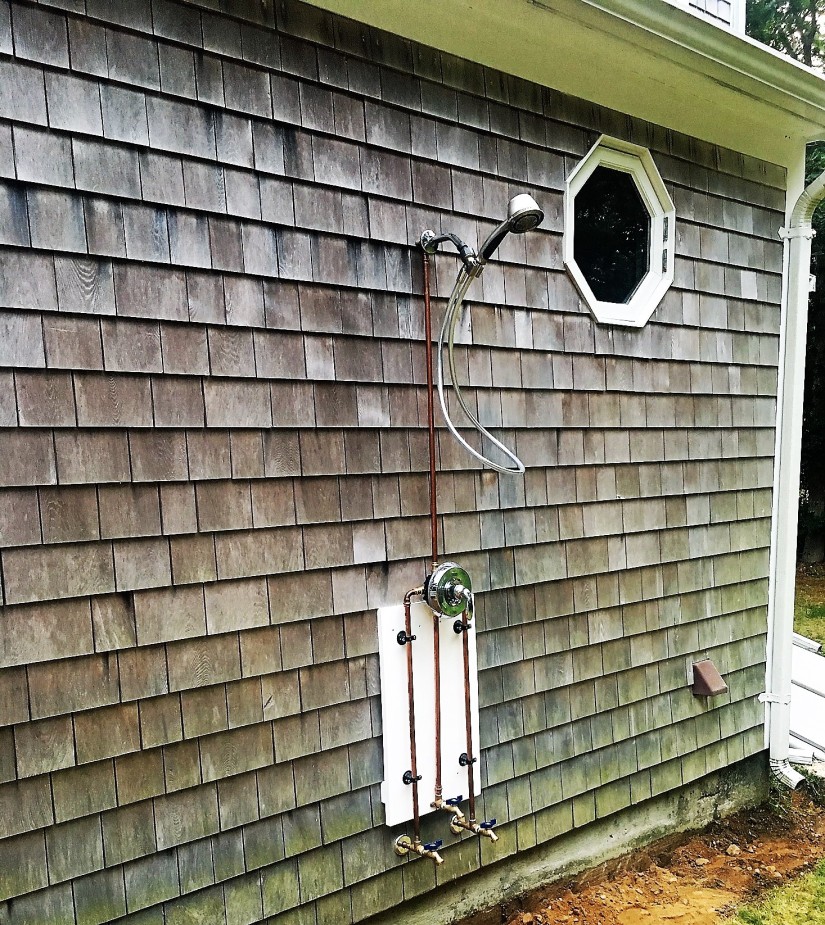
What you cannot see from this photo is the kitchen window, which is about 6 feet to the left of the shower. The shower was placed here to ensure no one could look down into the shower from the kitchen window.
The other thing you will notice is the white panel behind a portion of the shower. I installed this to provide more stability to the bolts that are connecting the shower to the house, however this is optional. Many plumbers install showers directly to the house. The material I used for the white back panel is synthetic. It is called Azek and resists both moisture and insects.
At the bottom of the shower, you will see there are 3 spigots. The middle one is generally used to wash off your feet. The left spigot is cold water and the right spigot is hot water. The left and right spigots are used to drain the system at the end of the season as part of the weatherization procedures. The hot water spigot may also be used if you want to fill up a bucket of hot water to wash your car.

